
Things are starting to heat up down here in the Fort Worth/Dallas area. I’m not saying that there is a grilling season (that would just be SILLY!), but if there were one… We’d be fast approaching prime time! Let’s talk about Baby Back Ribs, a classic smoking methodology, and have some fun! Here’s a summary if you just want the steps and don’t feel like reading through the whole post… but you should, because it’s pretty good!
Preparing the Goods:
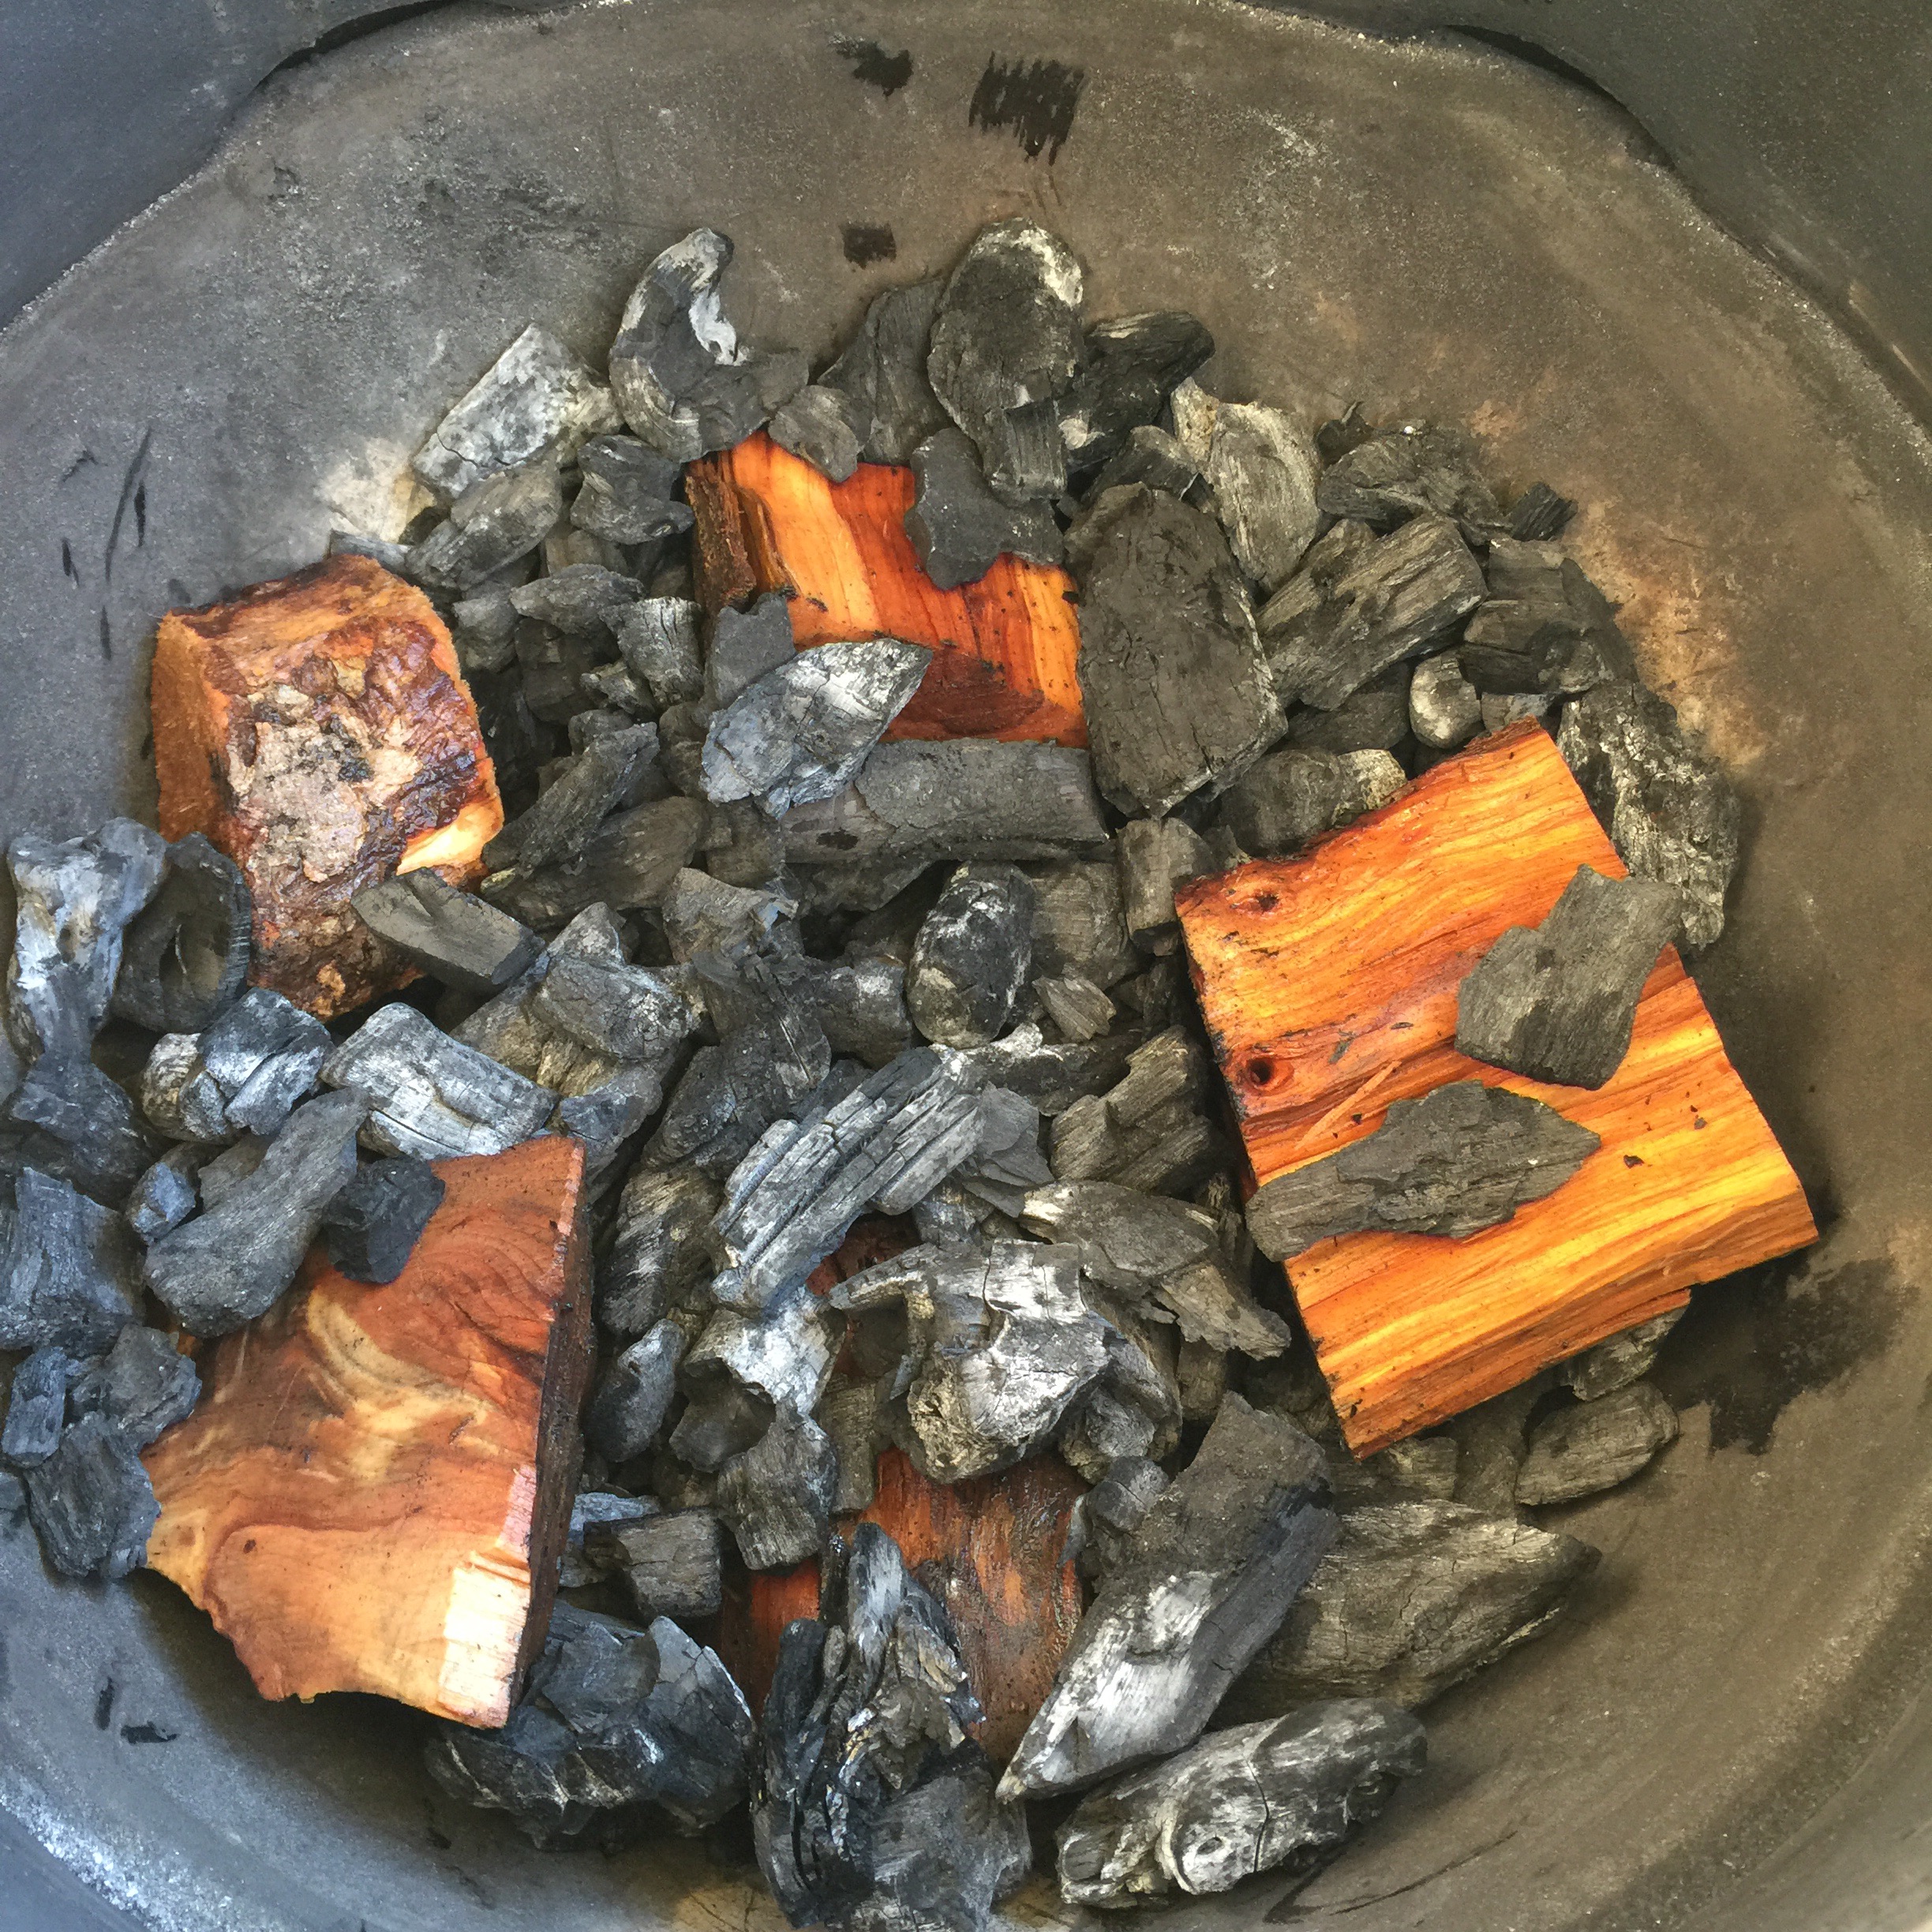
We need to choose our wood. I have used Apple, Pecan, Hickory, and Cherry for my ribs. I have also combined Apple chunks with Pecan chips before. You really can’t go wrong with any of these except maybe Hickory. There is a debate on whether you should use soaked wood chunks or dry wood chunks when smoking. I have always used soaked wood, however the dry wood argument is compelling. I will try dry wood next time for sure. I believe it boils down to personal preference, though I’m sure some would disagree. Regardless of which you use, strategically placing your chunks will increase the burn time as the charcoal hits each piece/layer of chunks at different points in the cook.

The Rib Prep:
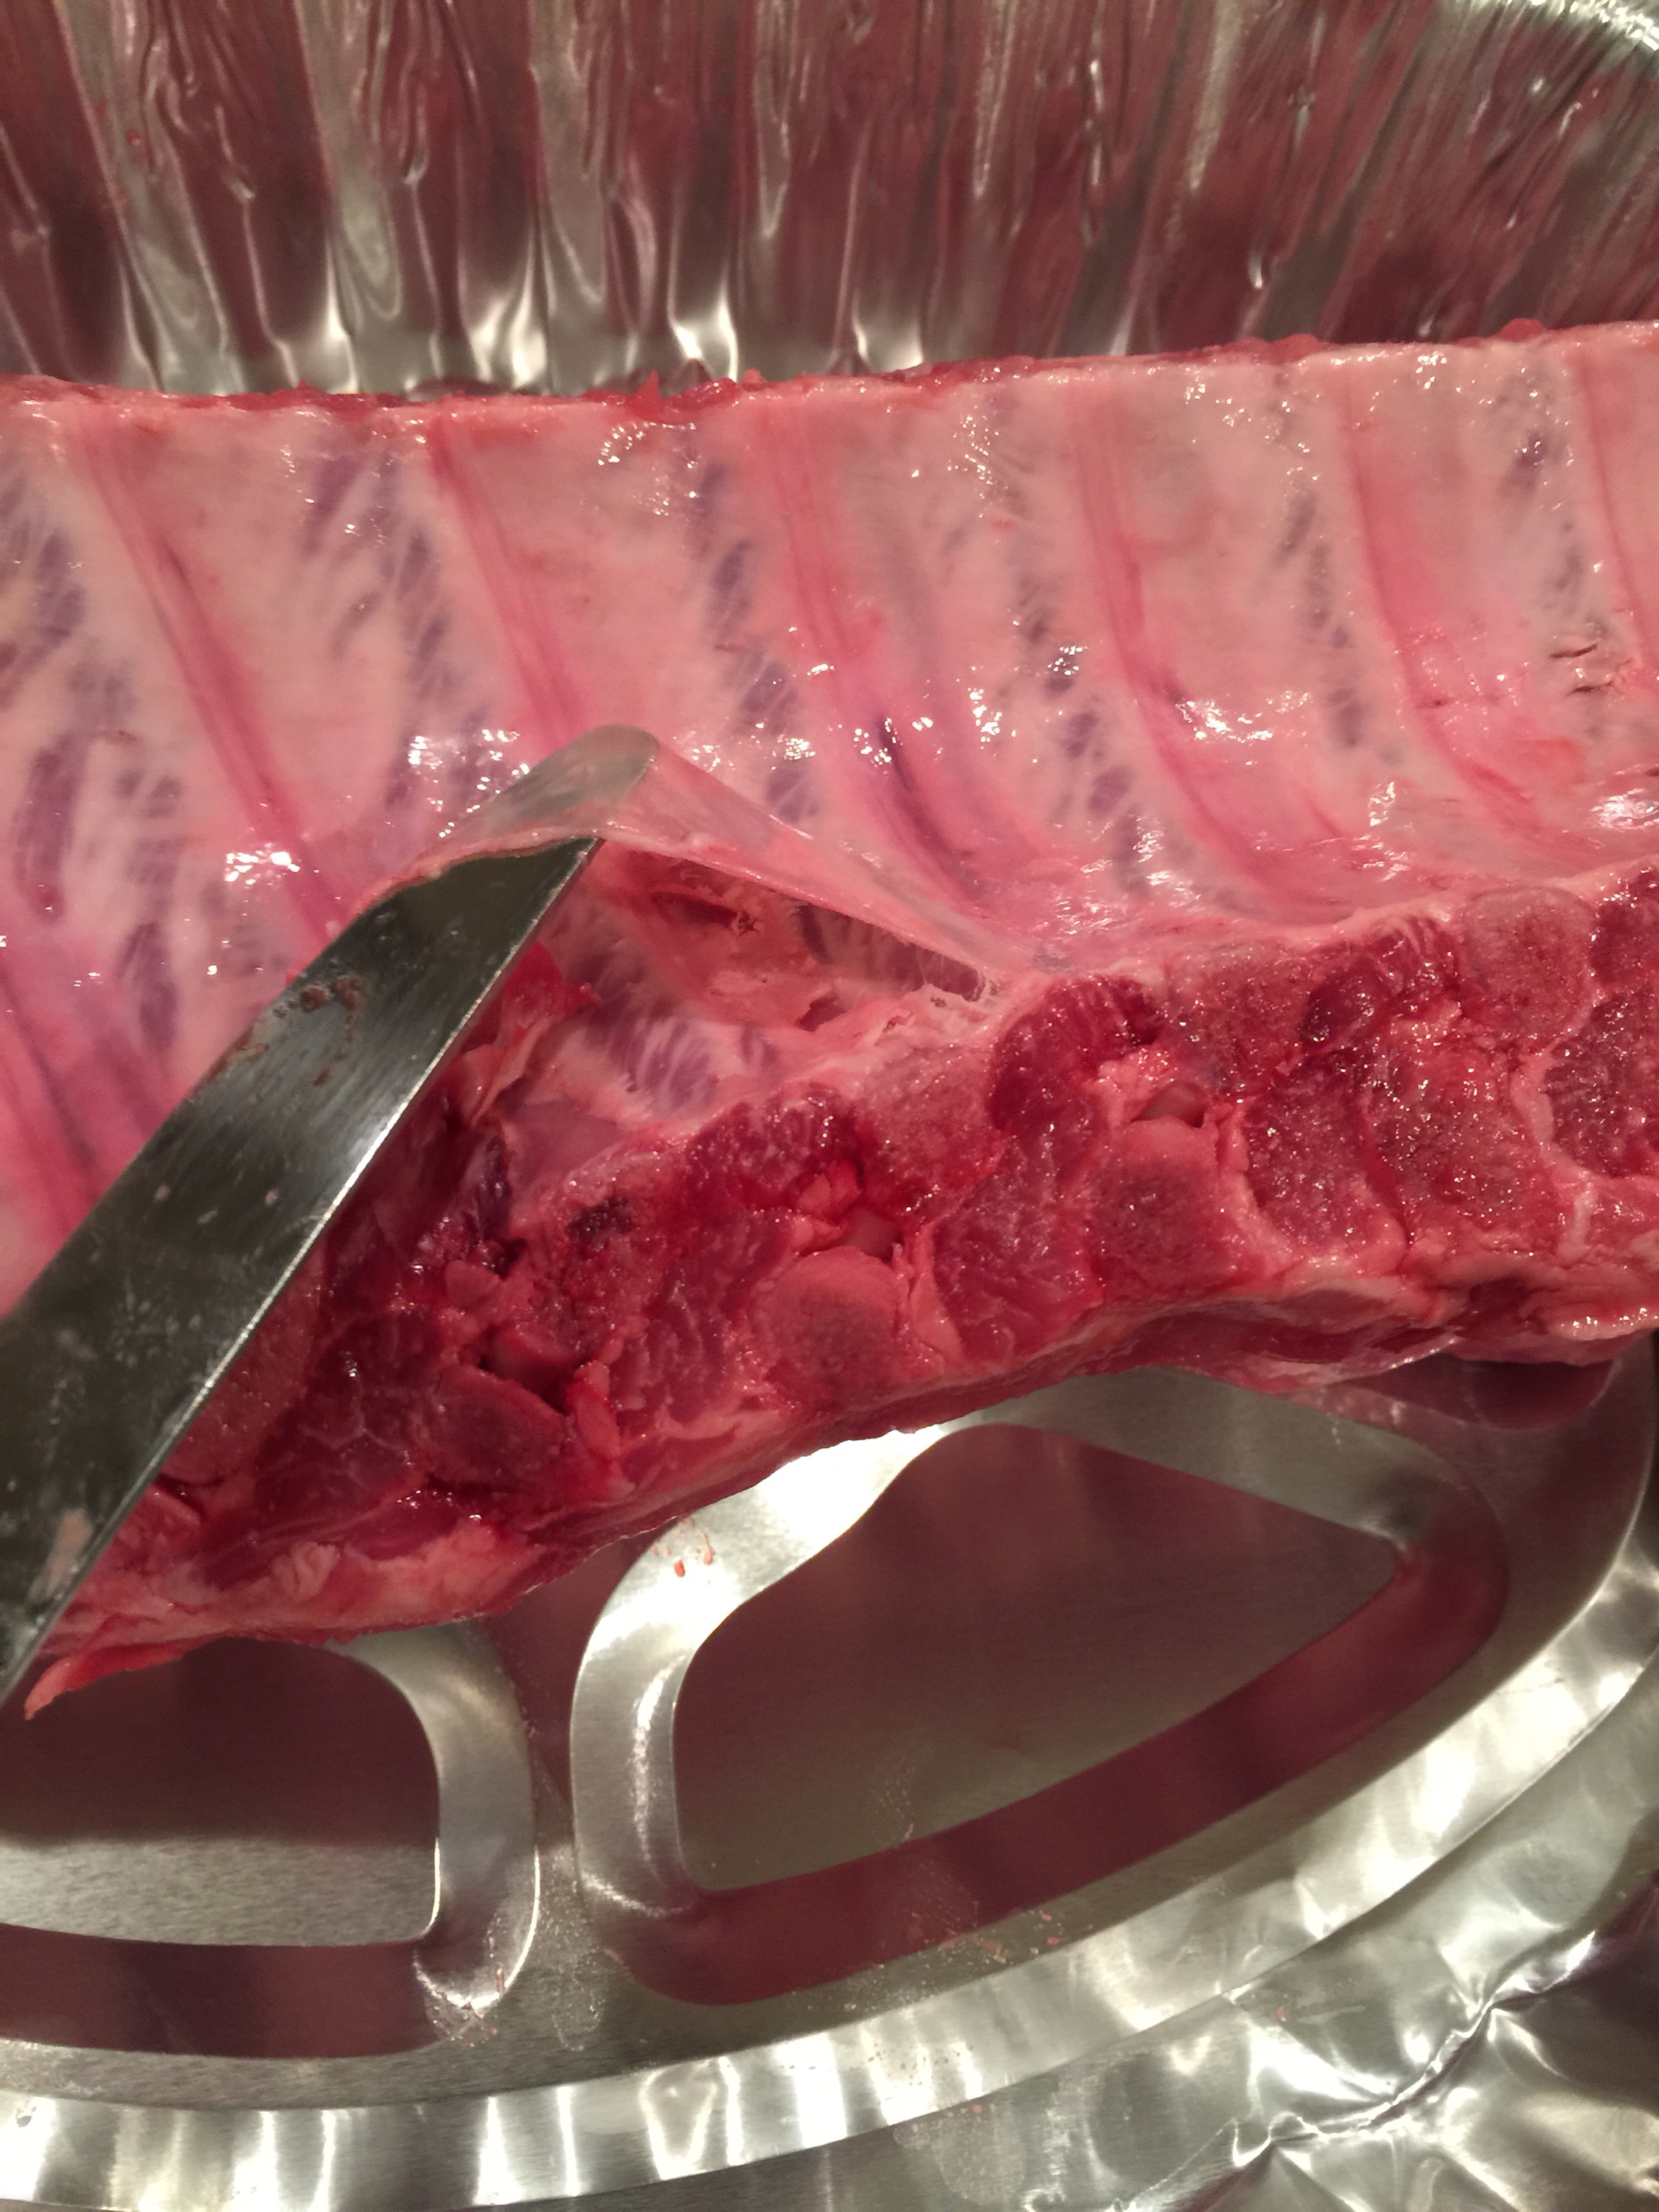
First we are going to take the ribs out of their cryo-vac packaging and wipe off any excess blood. I just use a paper towel. Next we want to remove the thin membrane that covers the leaner side of the ribs. This membrane keeps the smoky goodness from penetrating the meat properly, so we want to get rid of it. I use a butter knife to get right under that layer to get it started, then take a finger and make enough room to get a good grip on it. Slowly pull it away and it should come off smoothly.

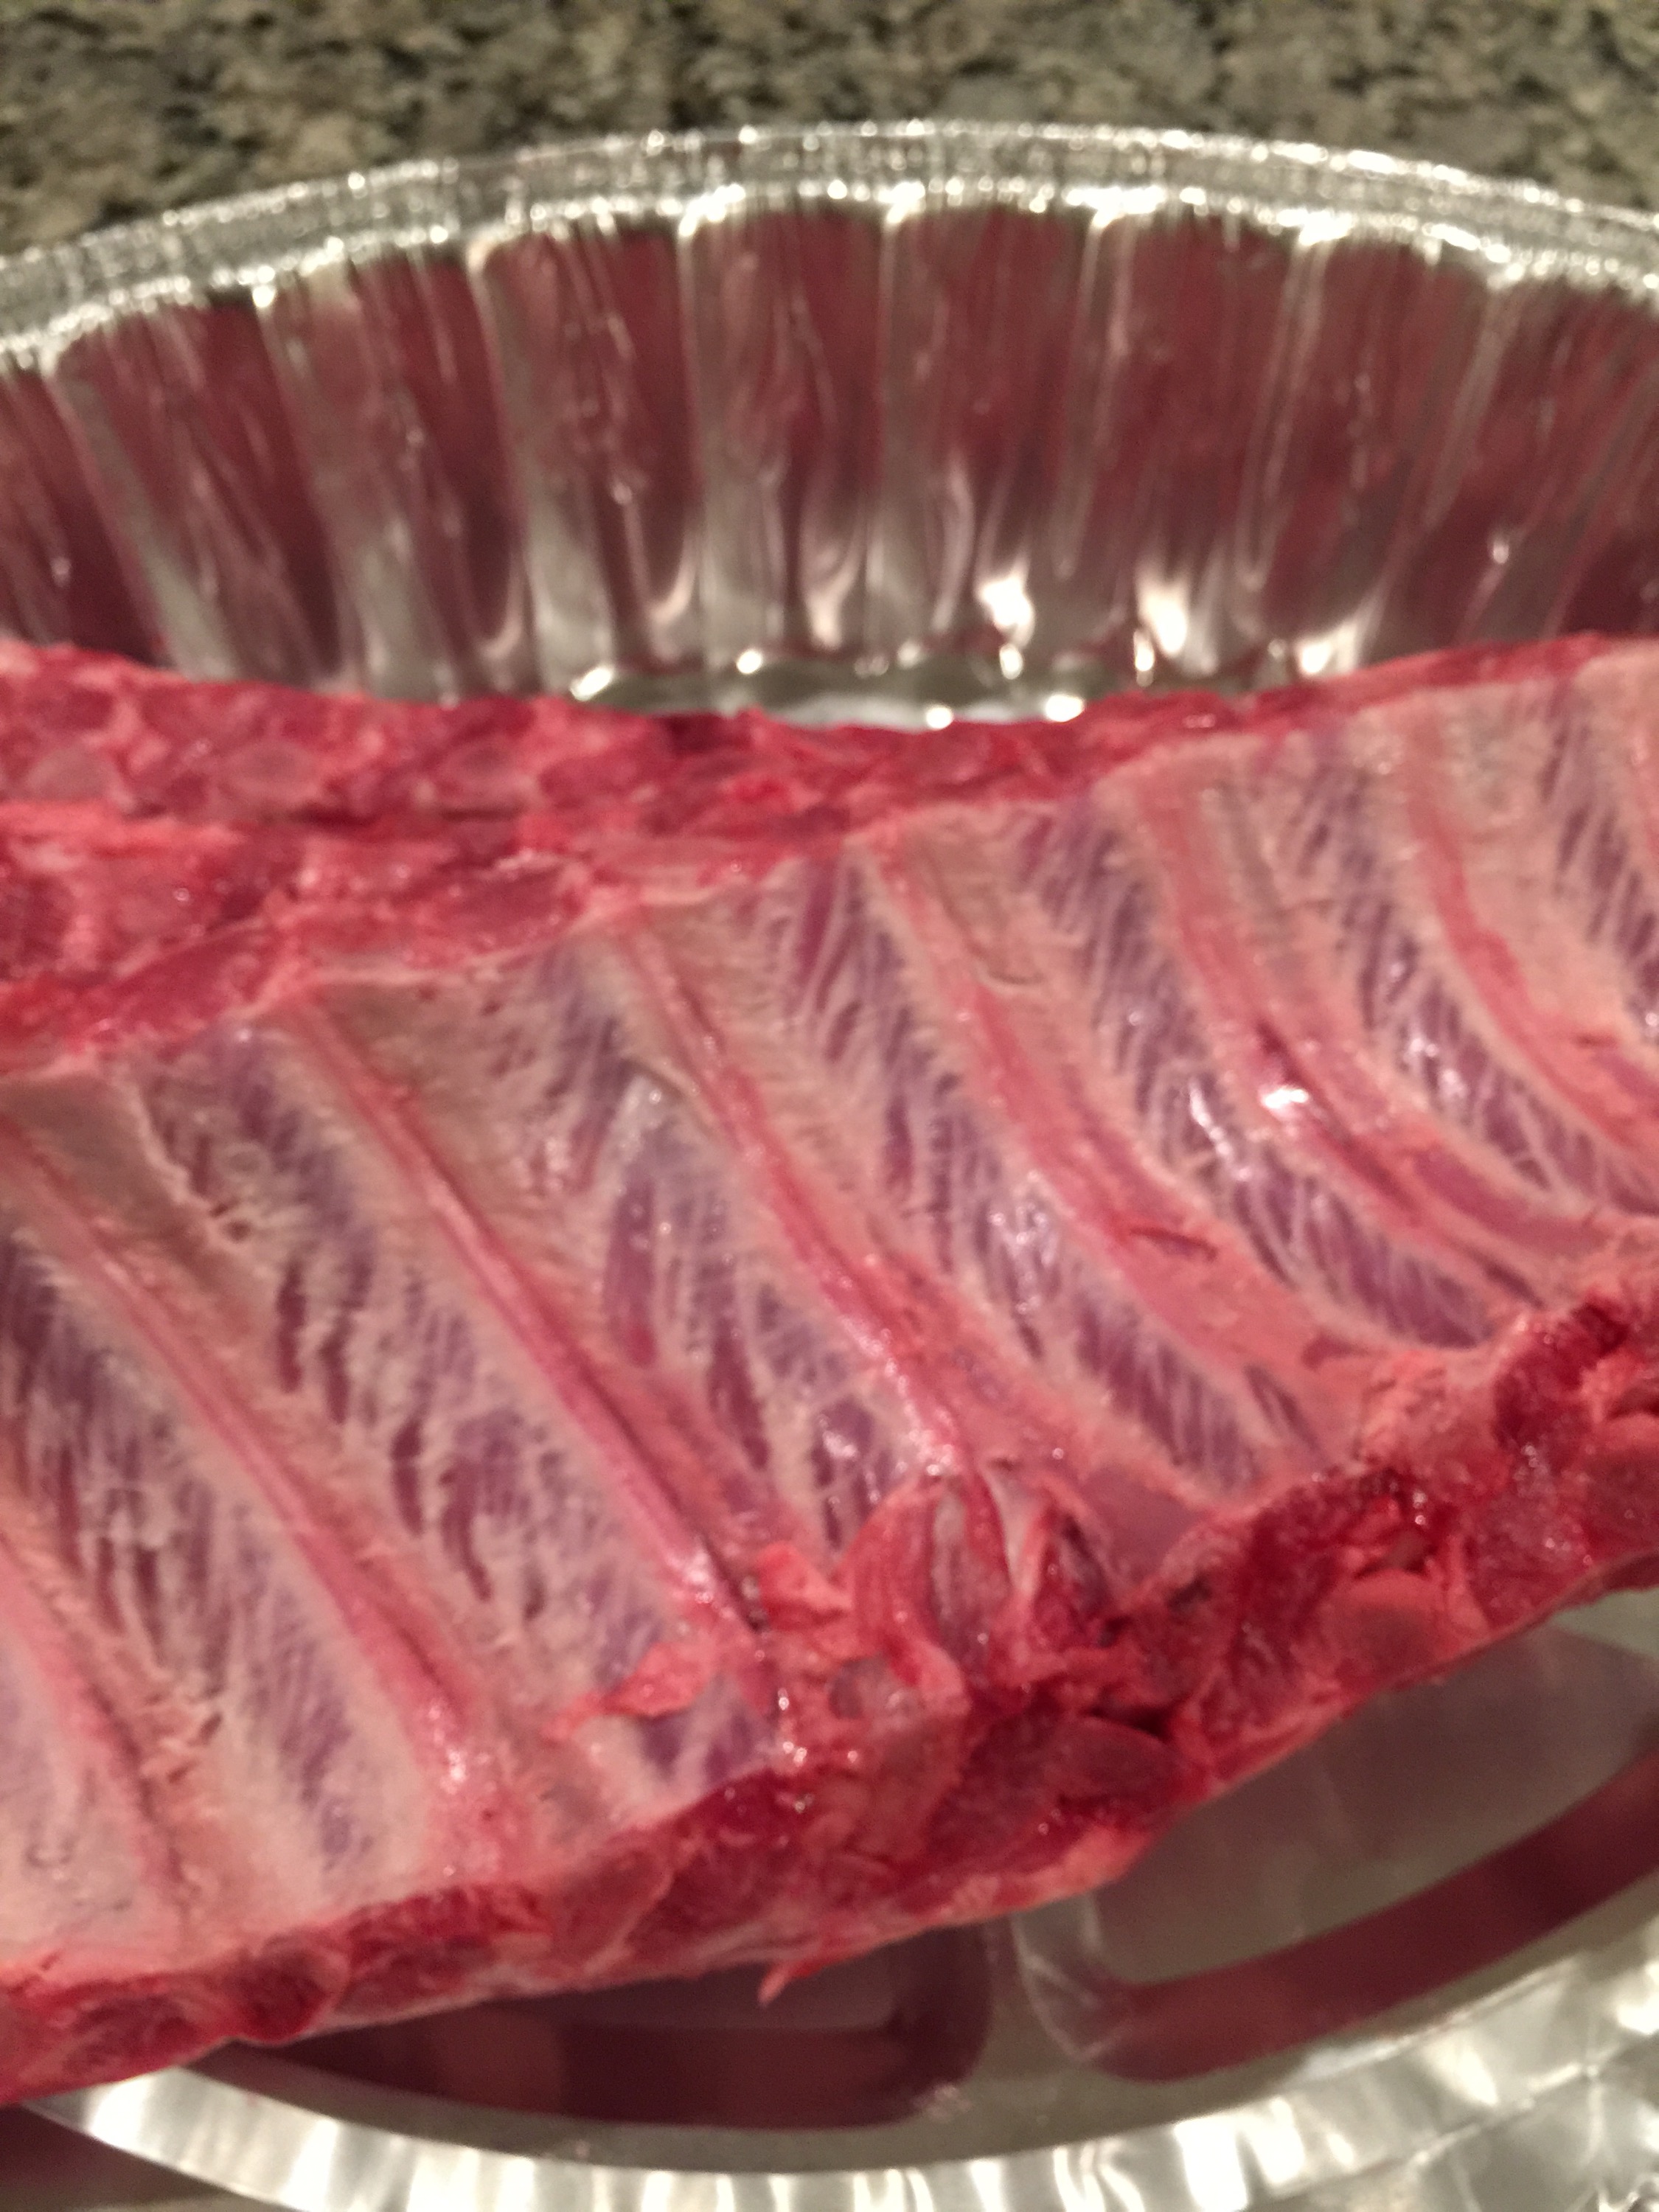
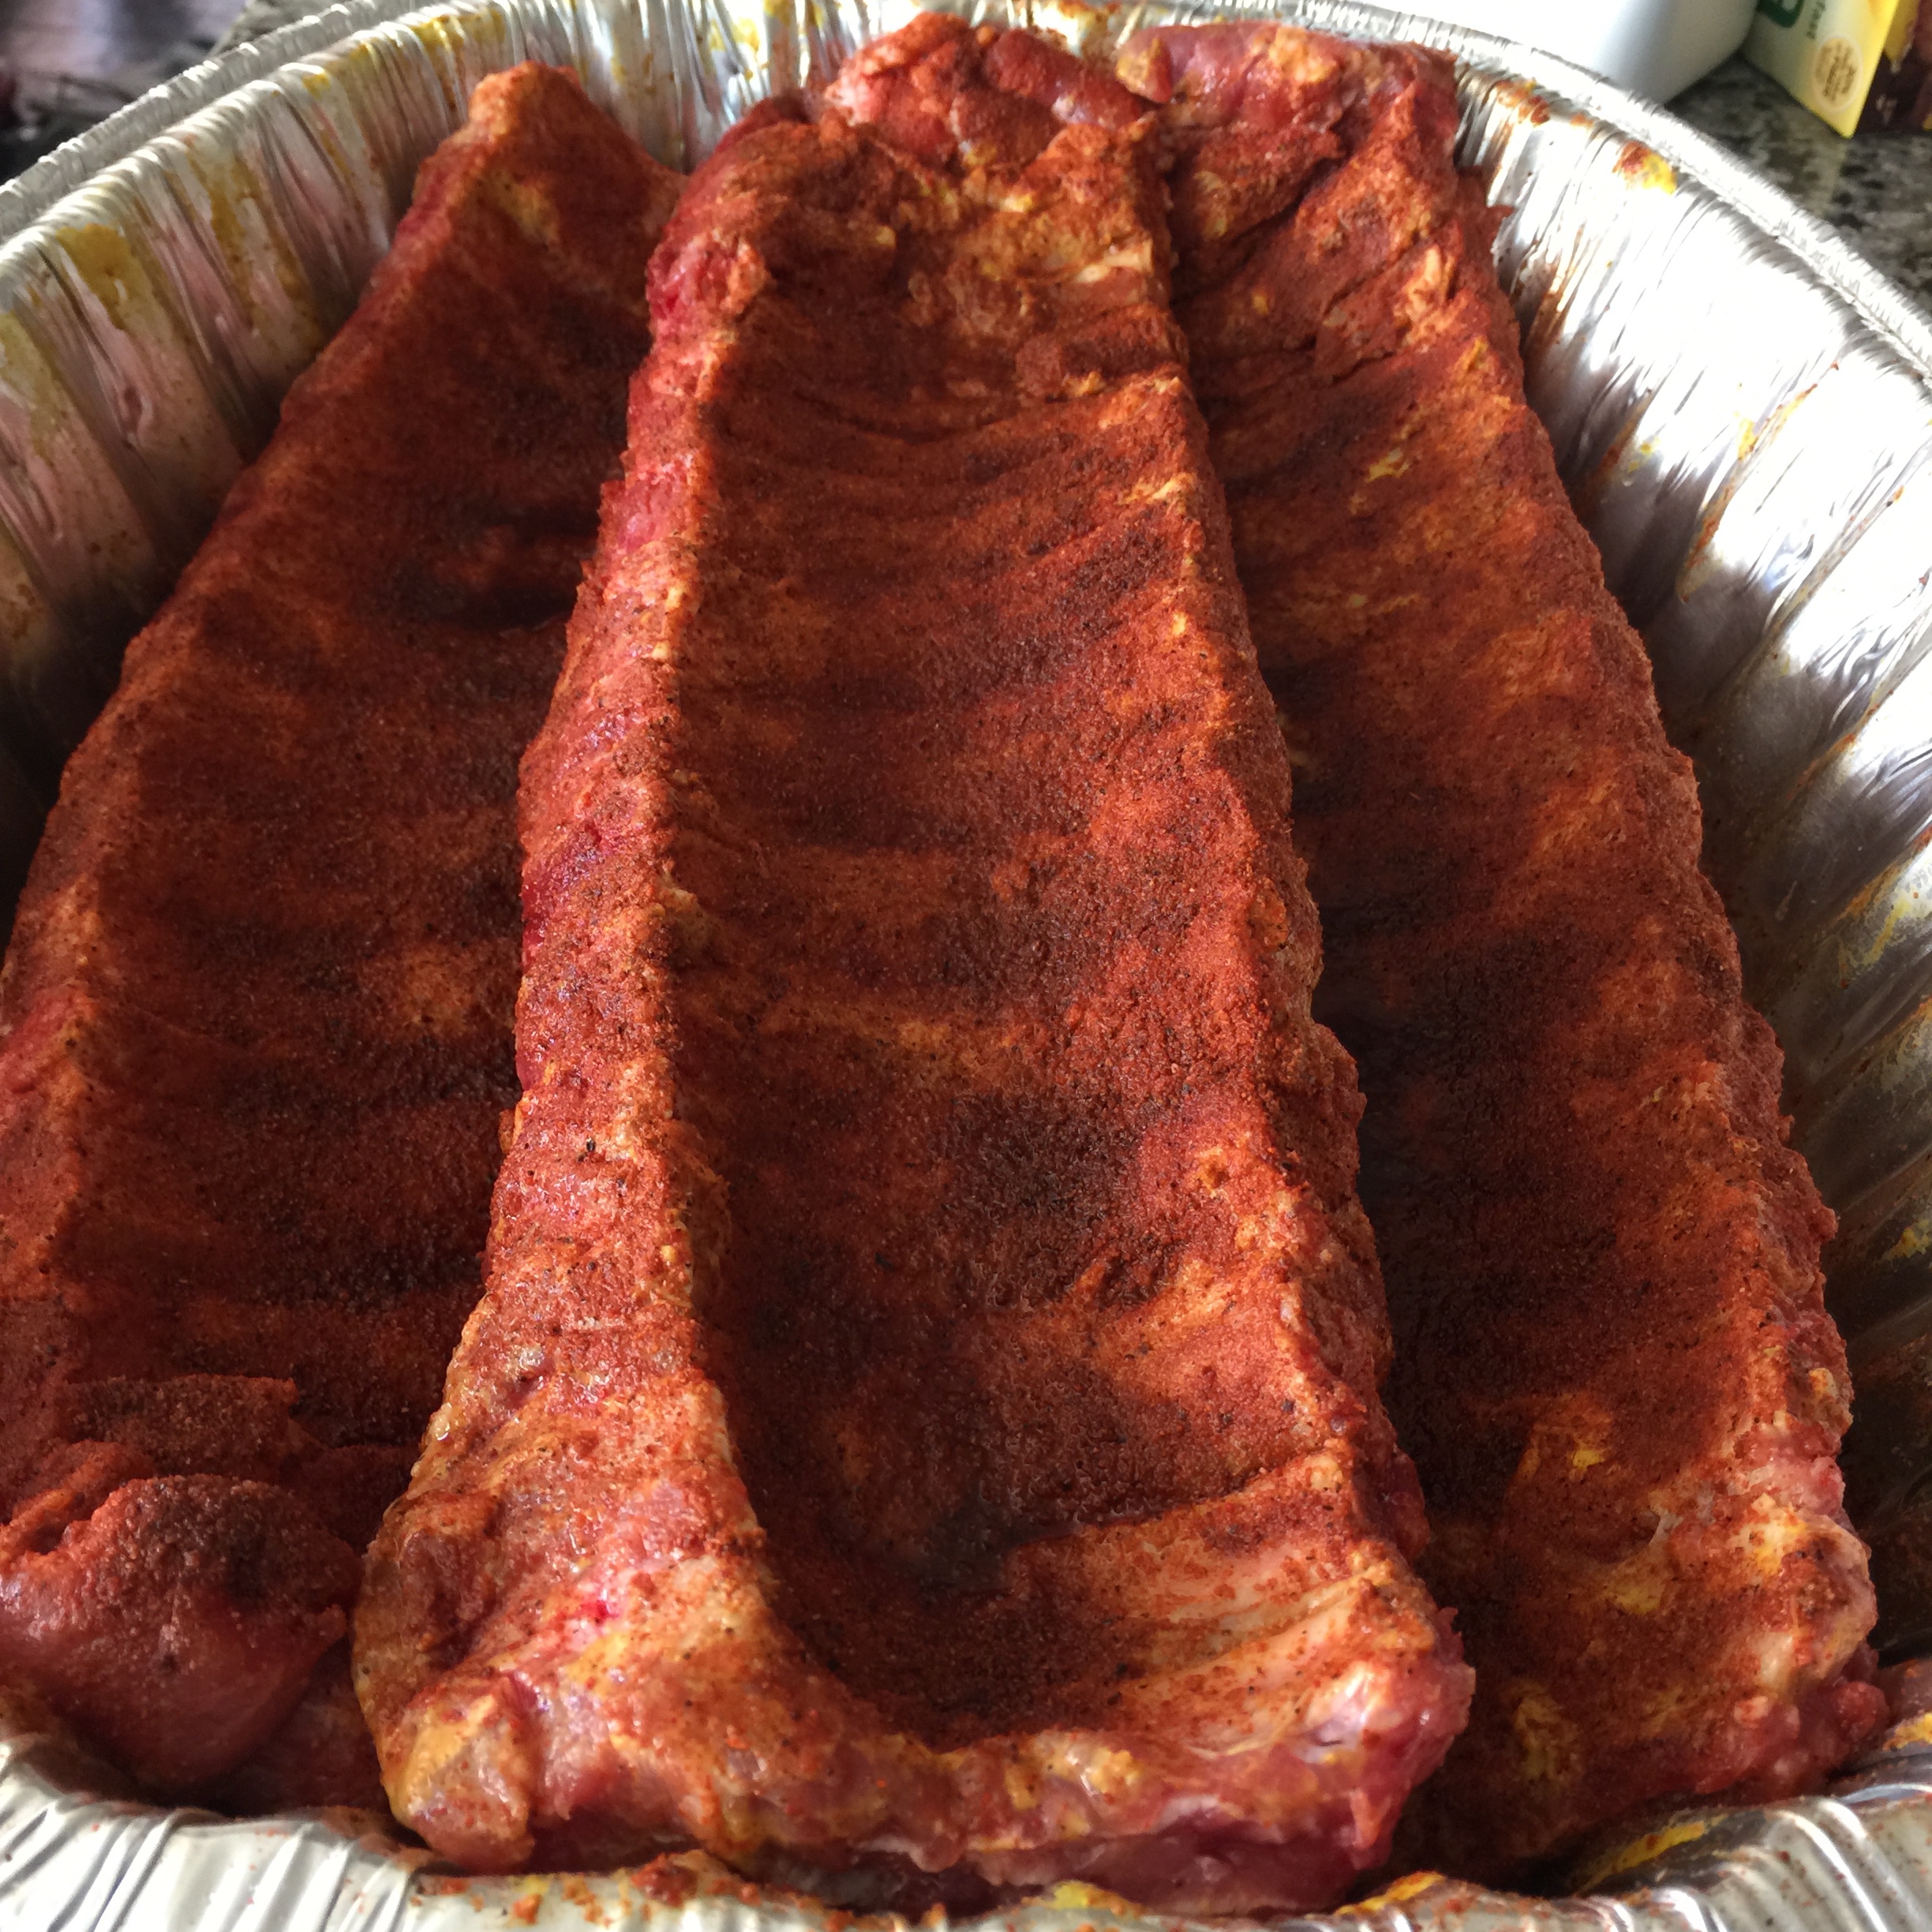
Here you can see the ribs with the Saran-Wrap-like skin and without it. It’s subtle but it’s a difference that matters.

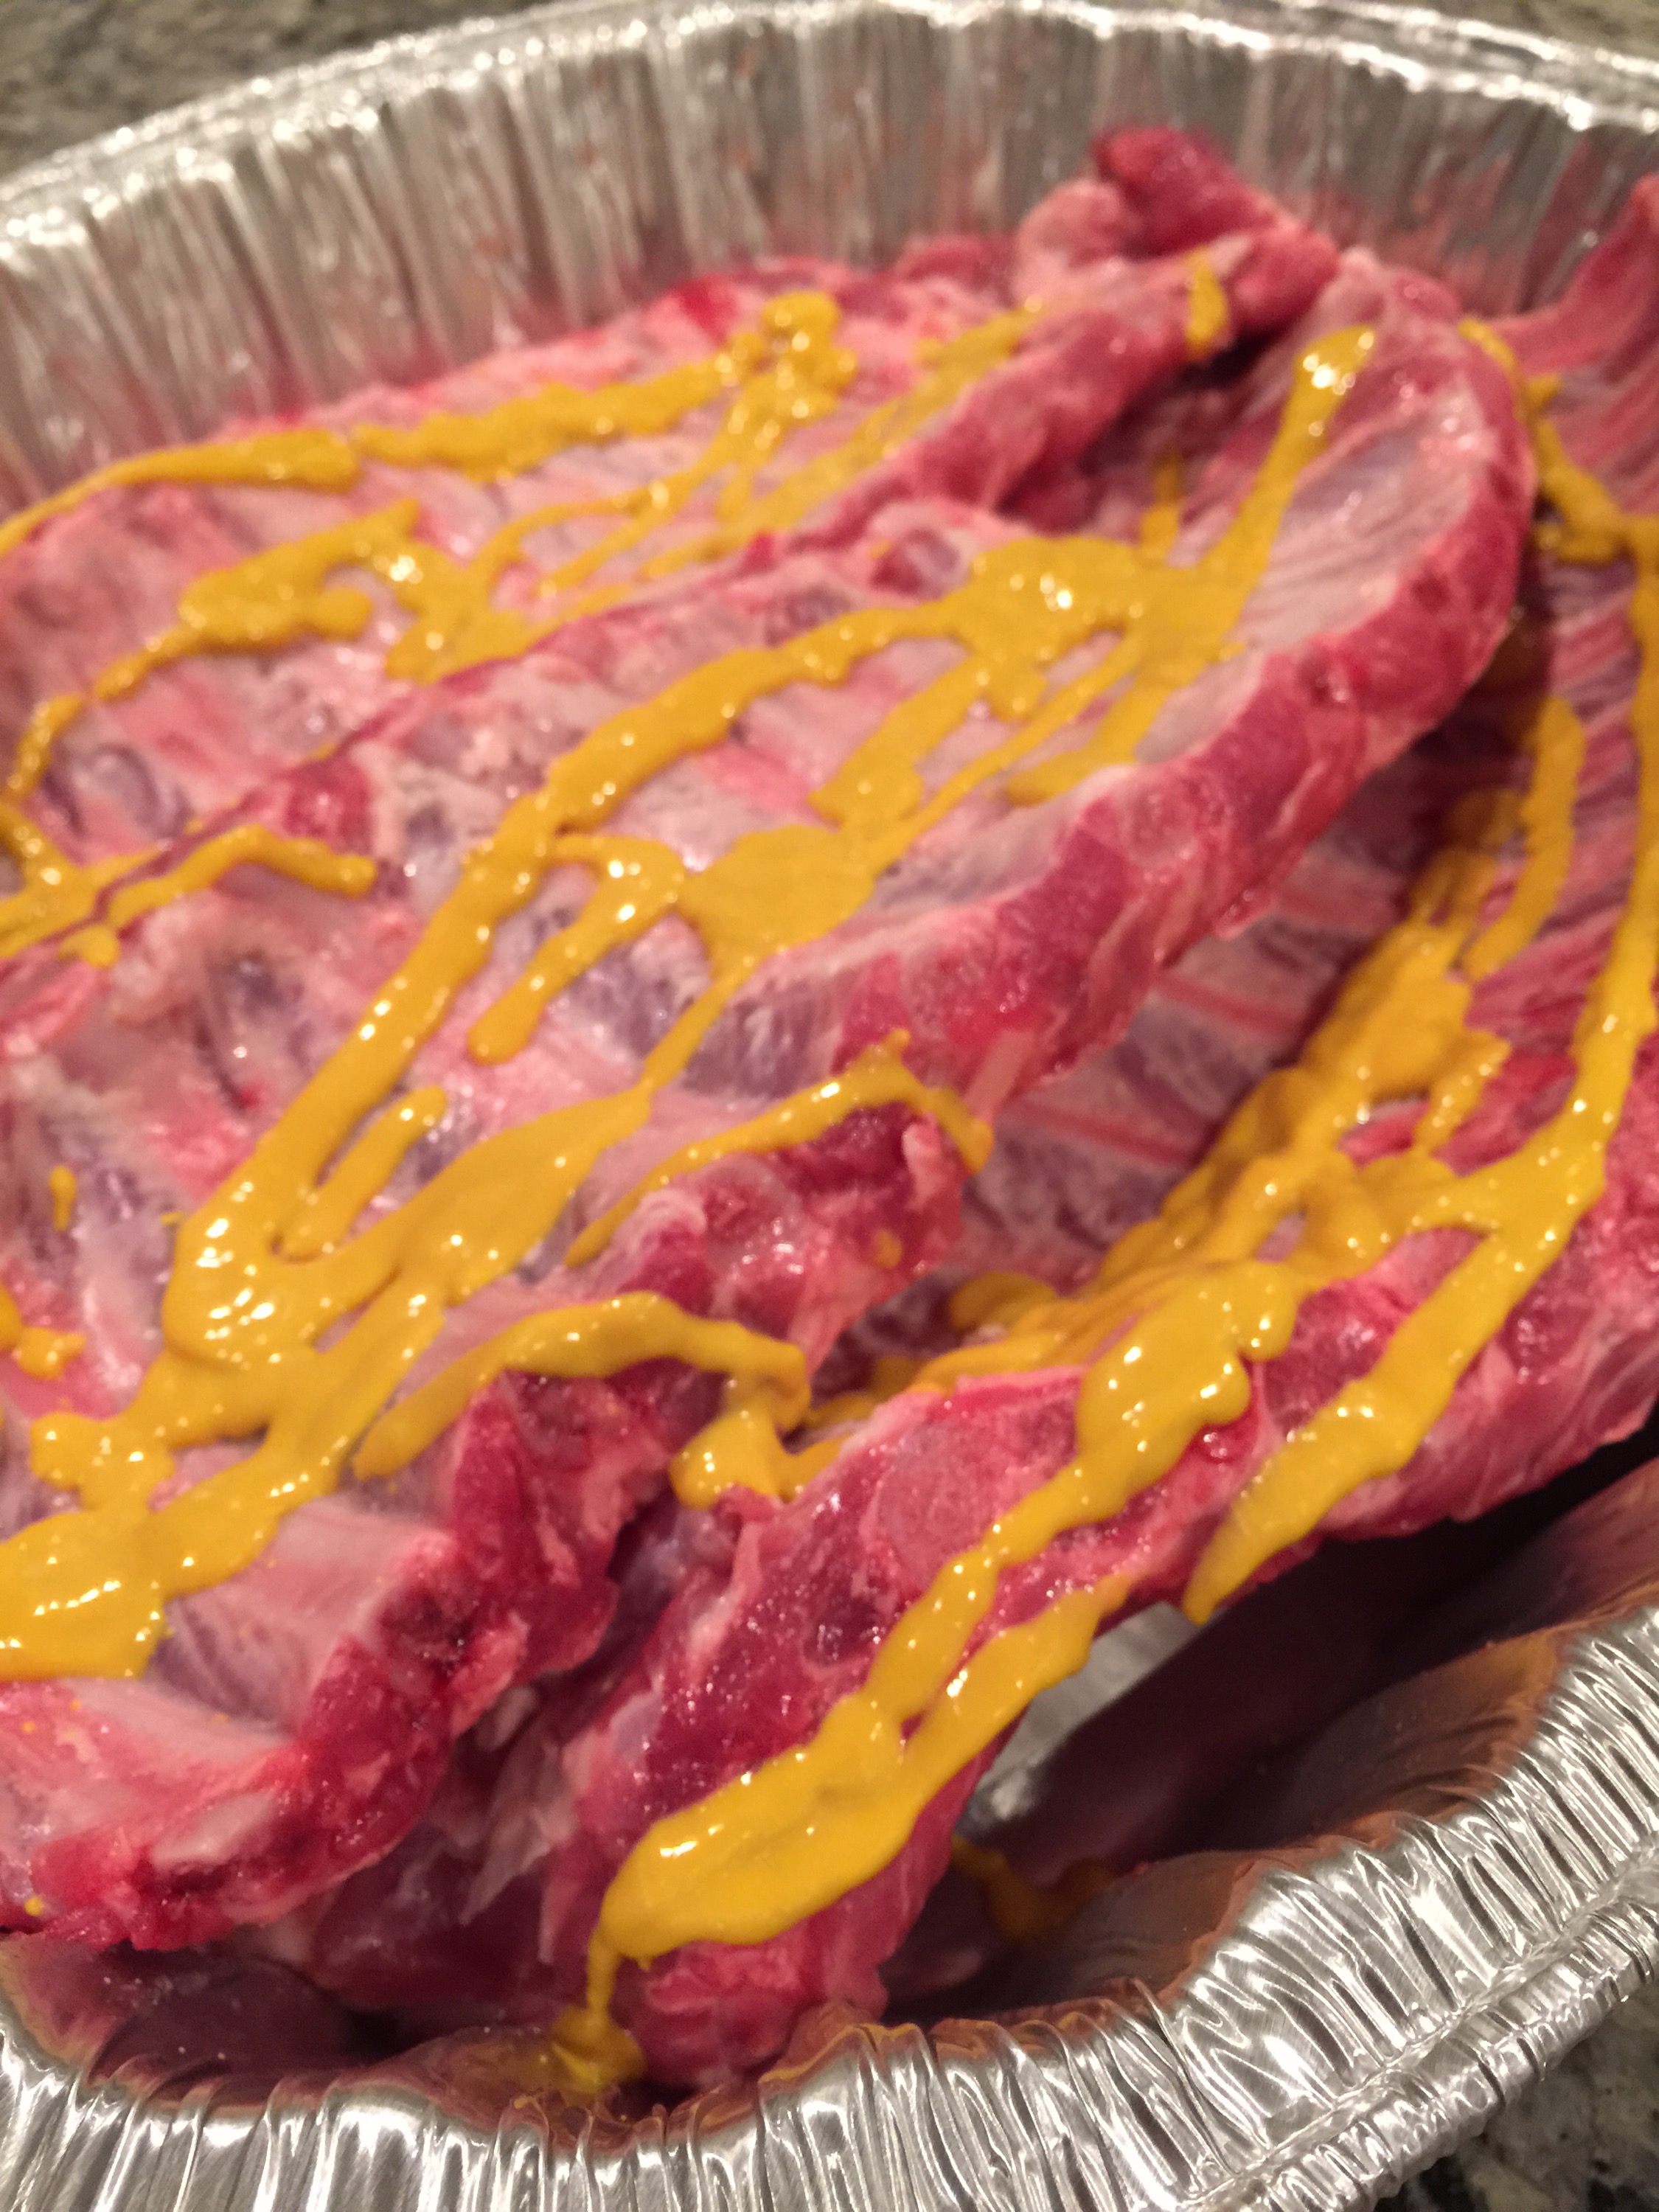
Now we can move on to the seasoning. I like to rub my ribs down with mustard. Regular old yellow mustard works just fine, but a nice dijon or spicy mustard could add some flavor depending on the rub you use. This does two things: 1) It adds a slight mustardy salty flavor to the profile (which I really like) 2) It adds a bit of moisture to allow the rub to stick a bit better.
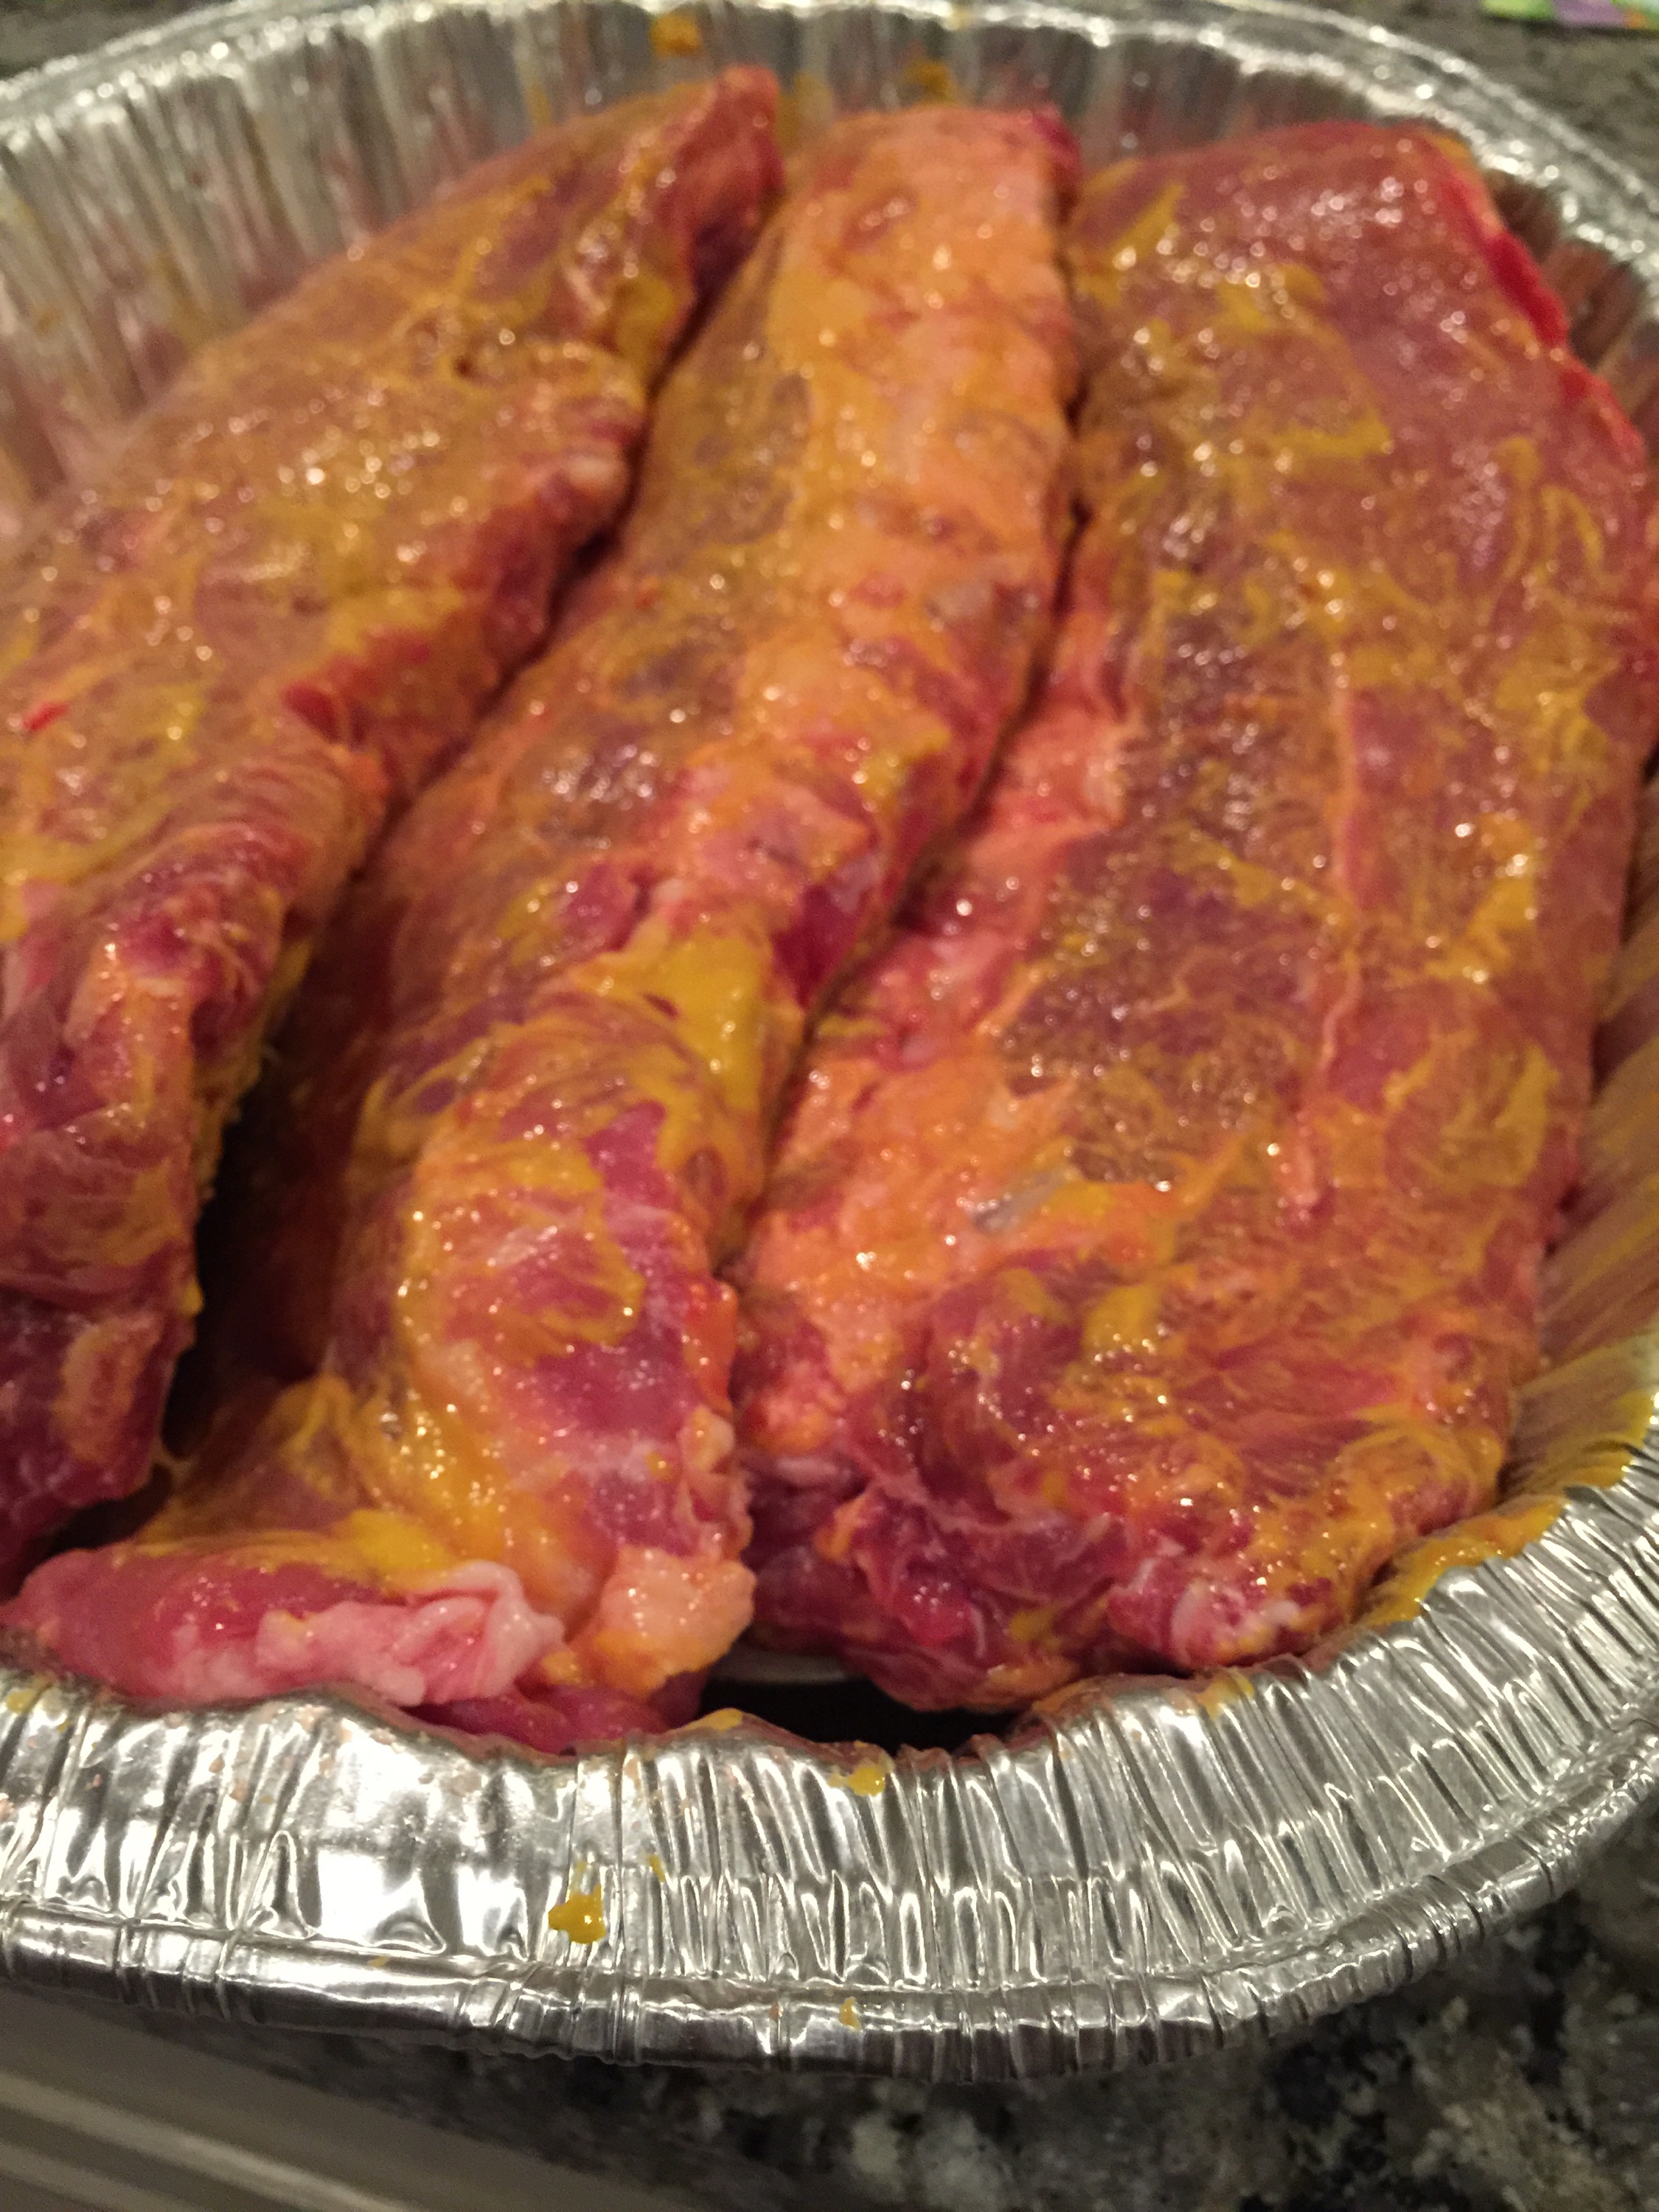
Next, use your favorite rub that you made or there are some great rib rubs you can get at just about any grocery store. I choose to make my own because I like the challenge and pride that comes with picking the flavor profiles of the final product. You want to use a liberal amount of rub, but there shouldn’t be mountains of excess sitting in the pan (all this does is leave a grainy texture to the surface of the ribs, which can be off-putting and doesn’t really add any extra flavor. In fact, it can also prevent them from forming that nice crust we all like.) Just get good solid coverage all over the ribs.
I usually do this the night before I plan on smoking to allow all those yummy flavors to get cozy with the meat overnight, but you can do this while you are stabilizing your cooking device too.
The Egg Prep:
The 2-2-1 method calls for low and slow cooking. So we want our heat to stabilize at 225 degrees. I will get my Big Green Egg up to temperature without the place setter and then put it in “legs up”, add a drip pan, then put the grate on top. This will drop the temp a bit, so I wait until it stabilizes again. This also gets that first bit of white yucky smoke out of the way so we can get to the thin blue smoke that we all know and love!
I didn’t use our Hairdryer Trick this time, but I could have to speed up the stabilization of the Egg. If you choose to use it, be careful! Kamado-style Grills tend to hold heat VERY well… So it’s easy to get the temp up, but difficult to bring it down.
The Smoke:
This is when the 2-2-1 comes in. 2 smoky hours + 2 foiled hours + 1 final hour of cooking. Add in 30 minutes of rest. That is 5 1/2 total “pre-chow time”.
2 Hours of Smoke:
 Once the Egg is stabilized, add some liquid (preferably a beer of some sort) to the drip pan, get them in a rib rack (any old rib rack will do. I got mine a Home Depot. Lots to choose from there. I chose this one for around $20), put them on the top grate and shut the lid. Now back off! Let these puppies soak up that delicious smoke and get all tender and juicy for the full 2 hours. Don’t peek!
2 Hours Wrapped in Foil:
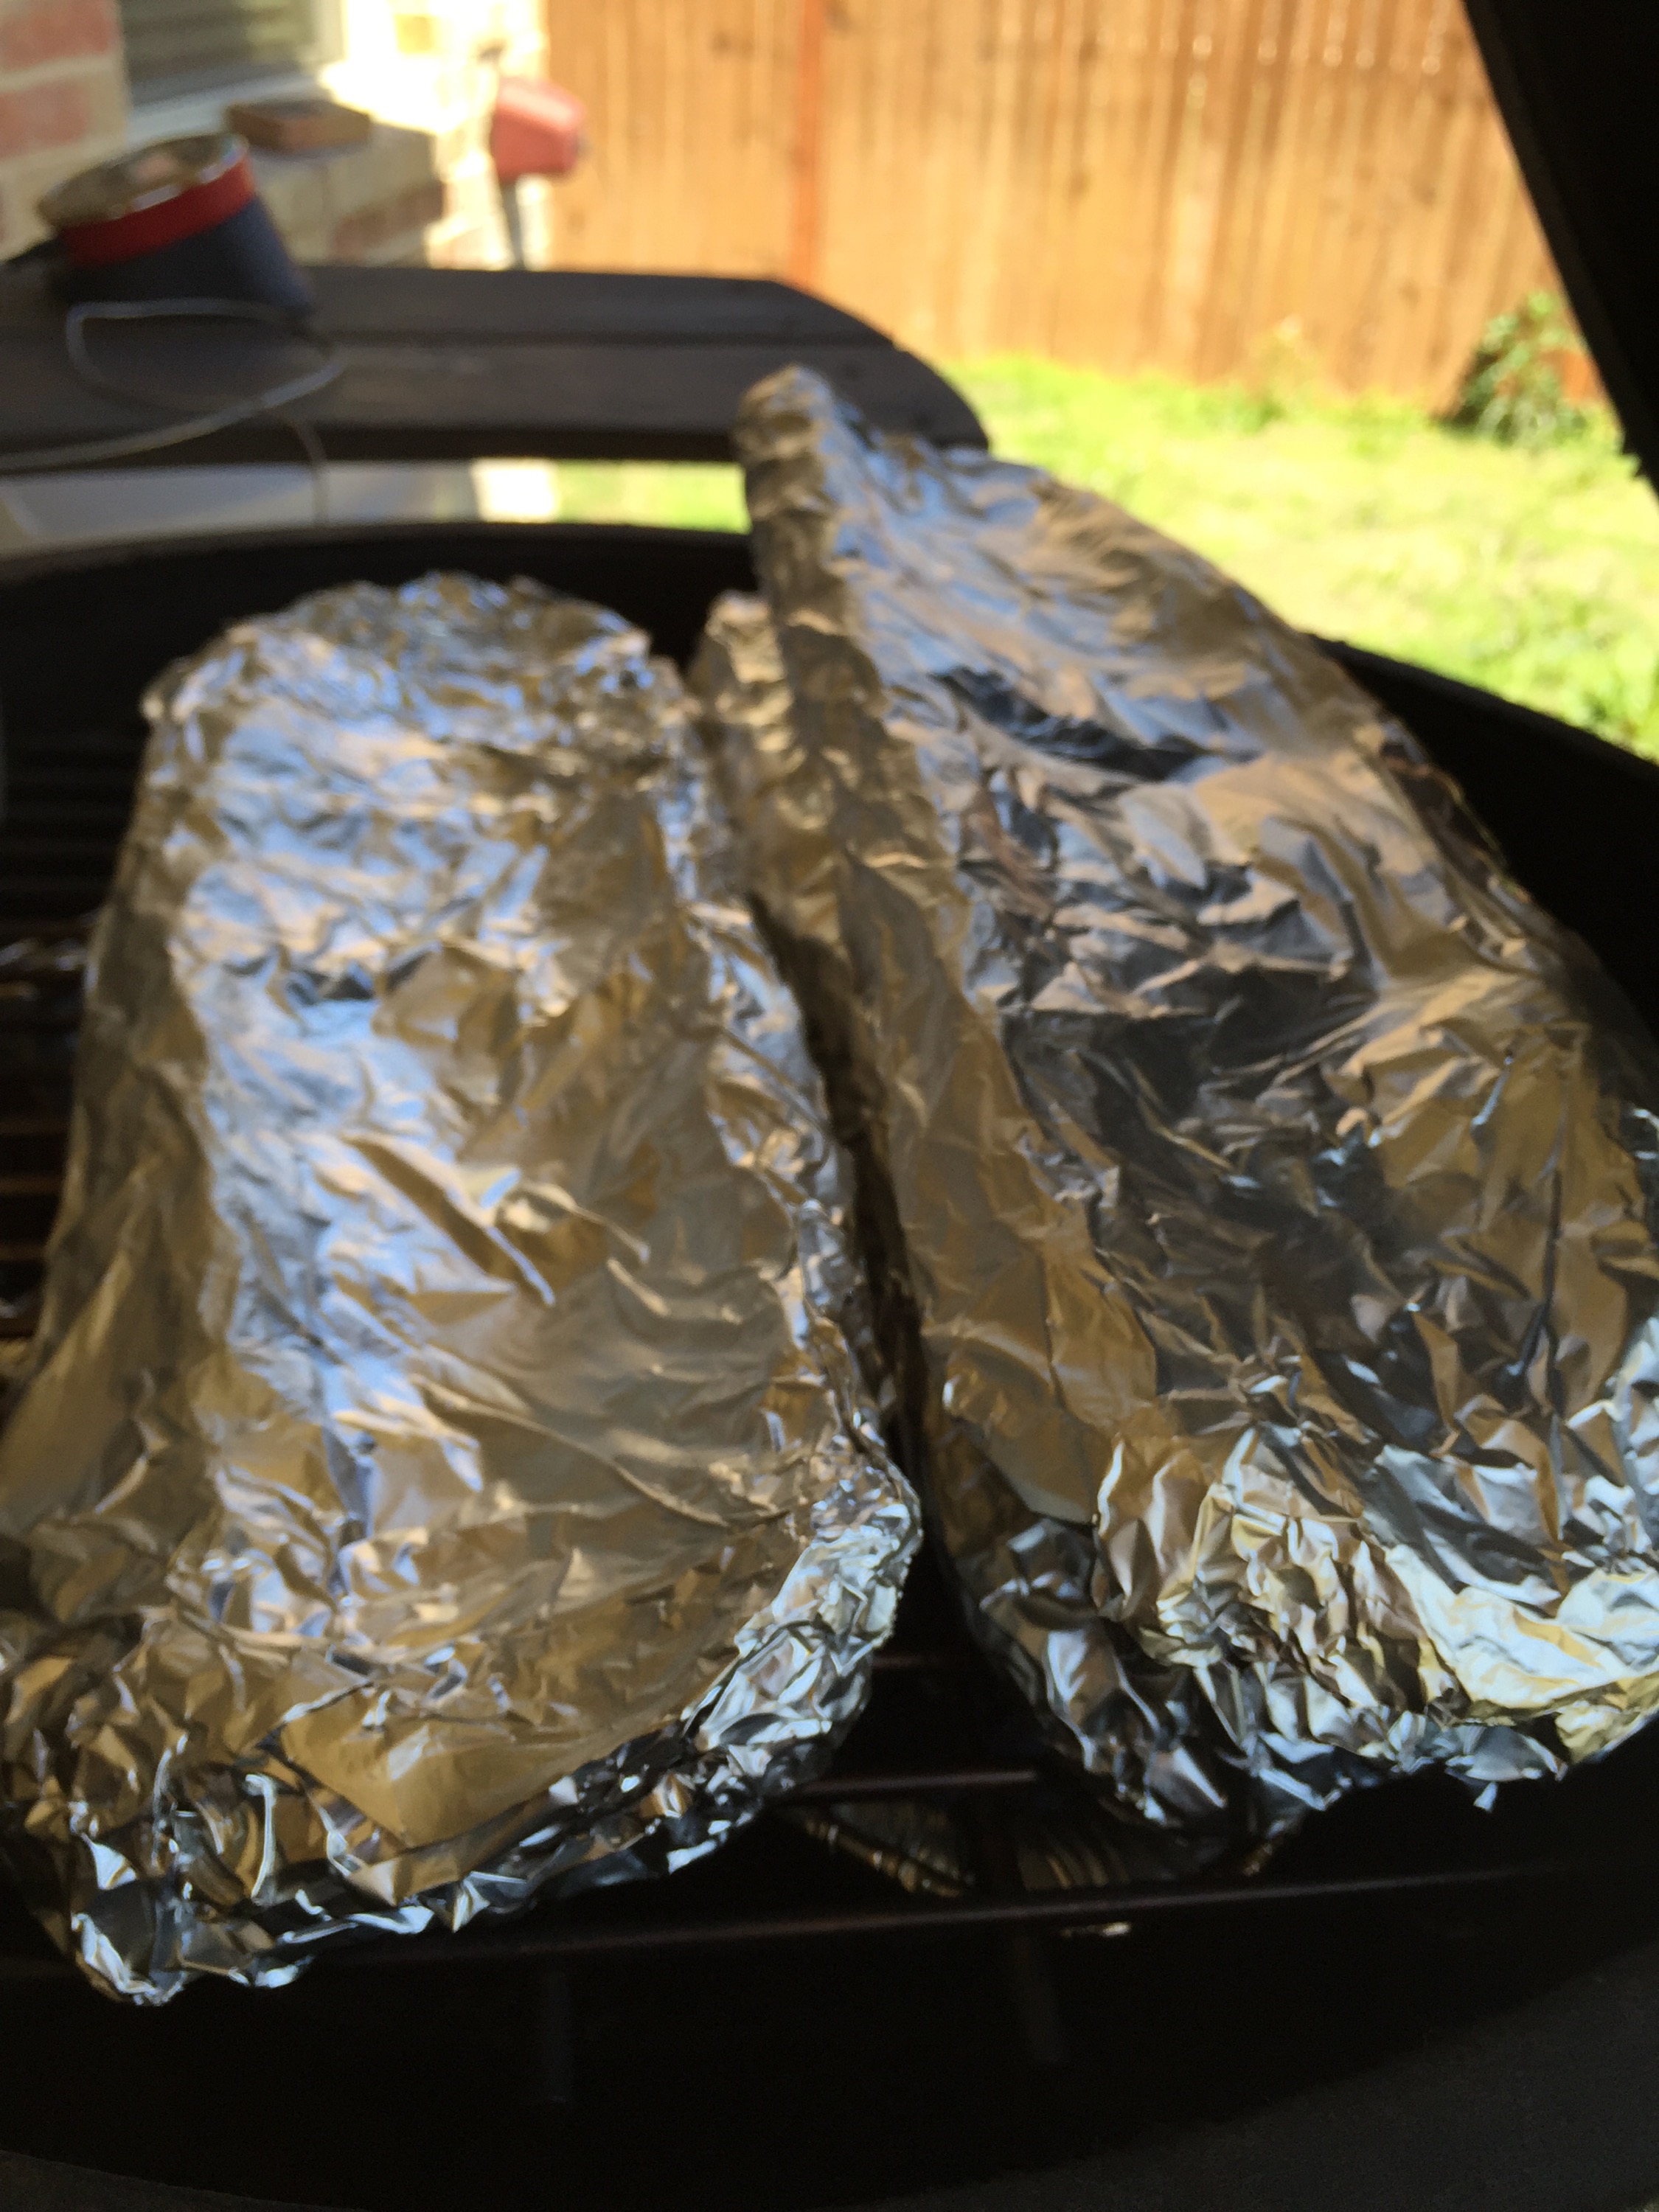
After your timer tells you that you are nearly 2/5th’s of the way through your journey to chow town, grab some tongs, pull the ribs off the rack, wrap them in heavy duty foil. You want to use heavy duty foil to ensure you don’t tear it when you are wrapping them. A ton of juice will pool in foil over the next two hours, so we don’t want any holes in our foil. Put the foil packs back on the grill and shut the lid for 2 more hours. Same mileage, don’t peek!
1 Hour to Bring it Home:
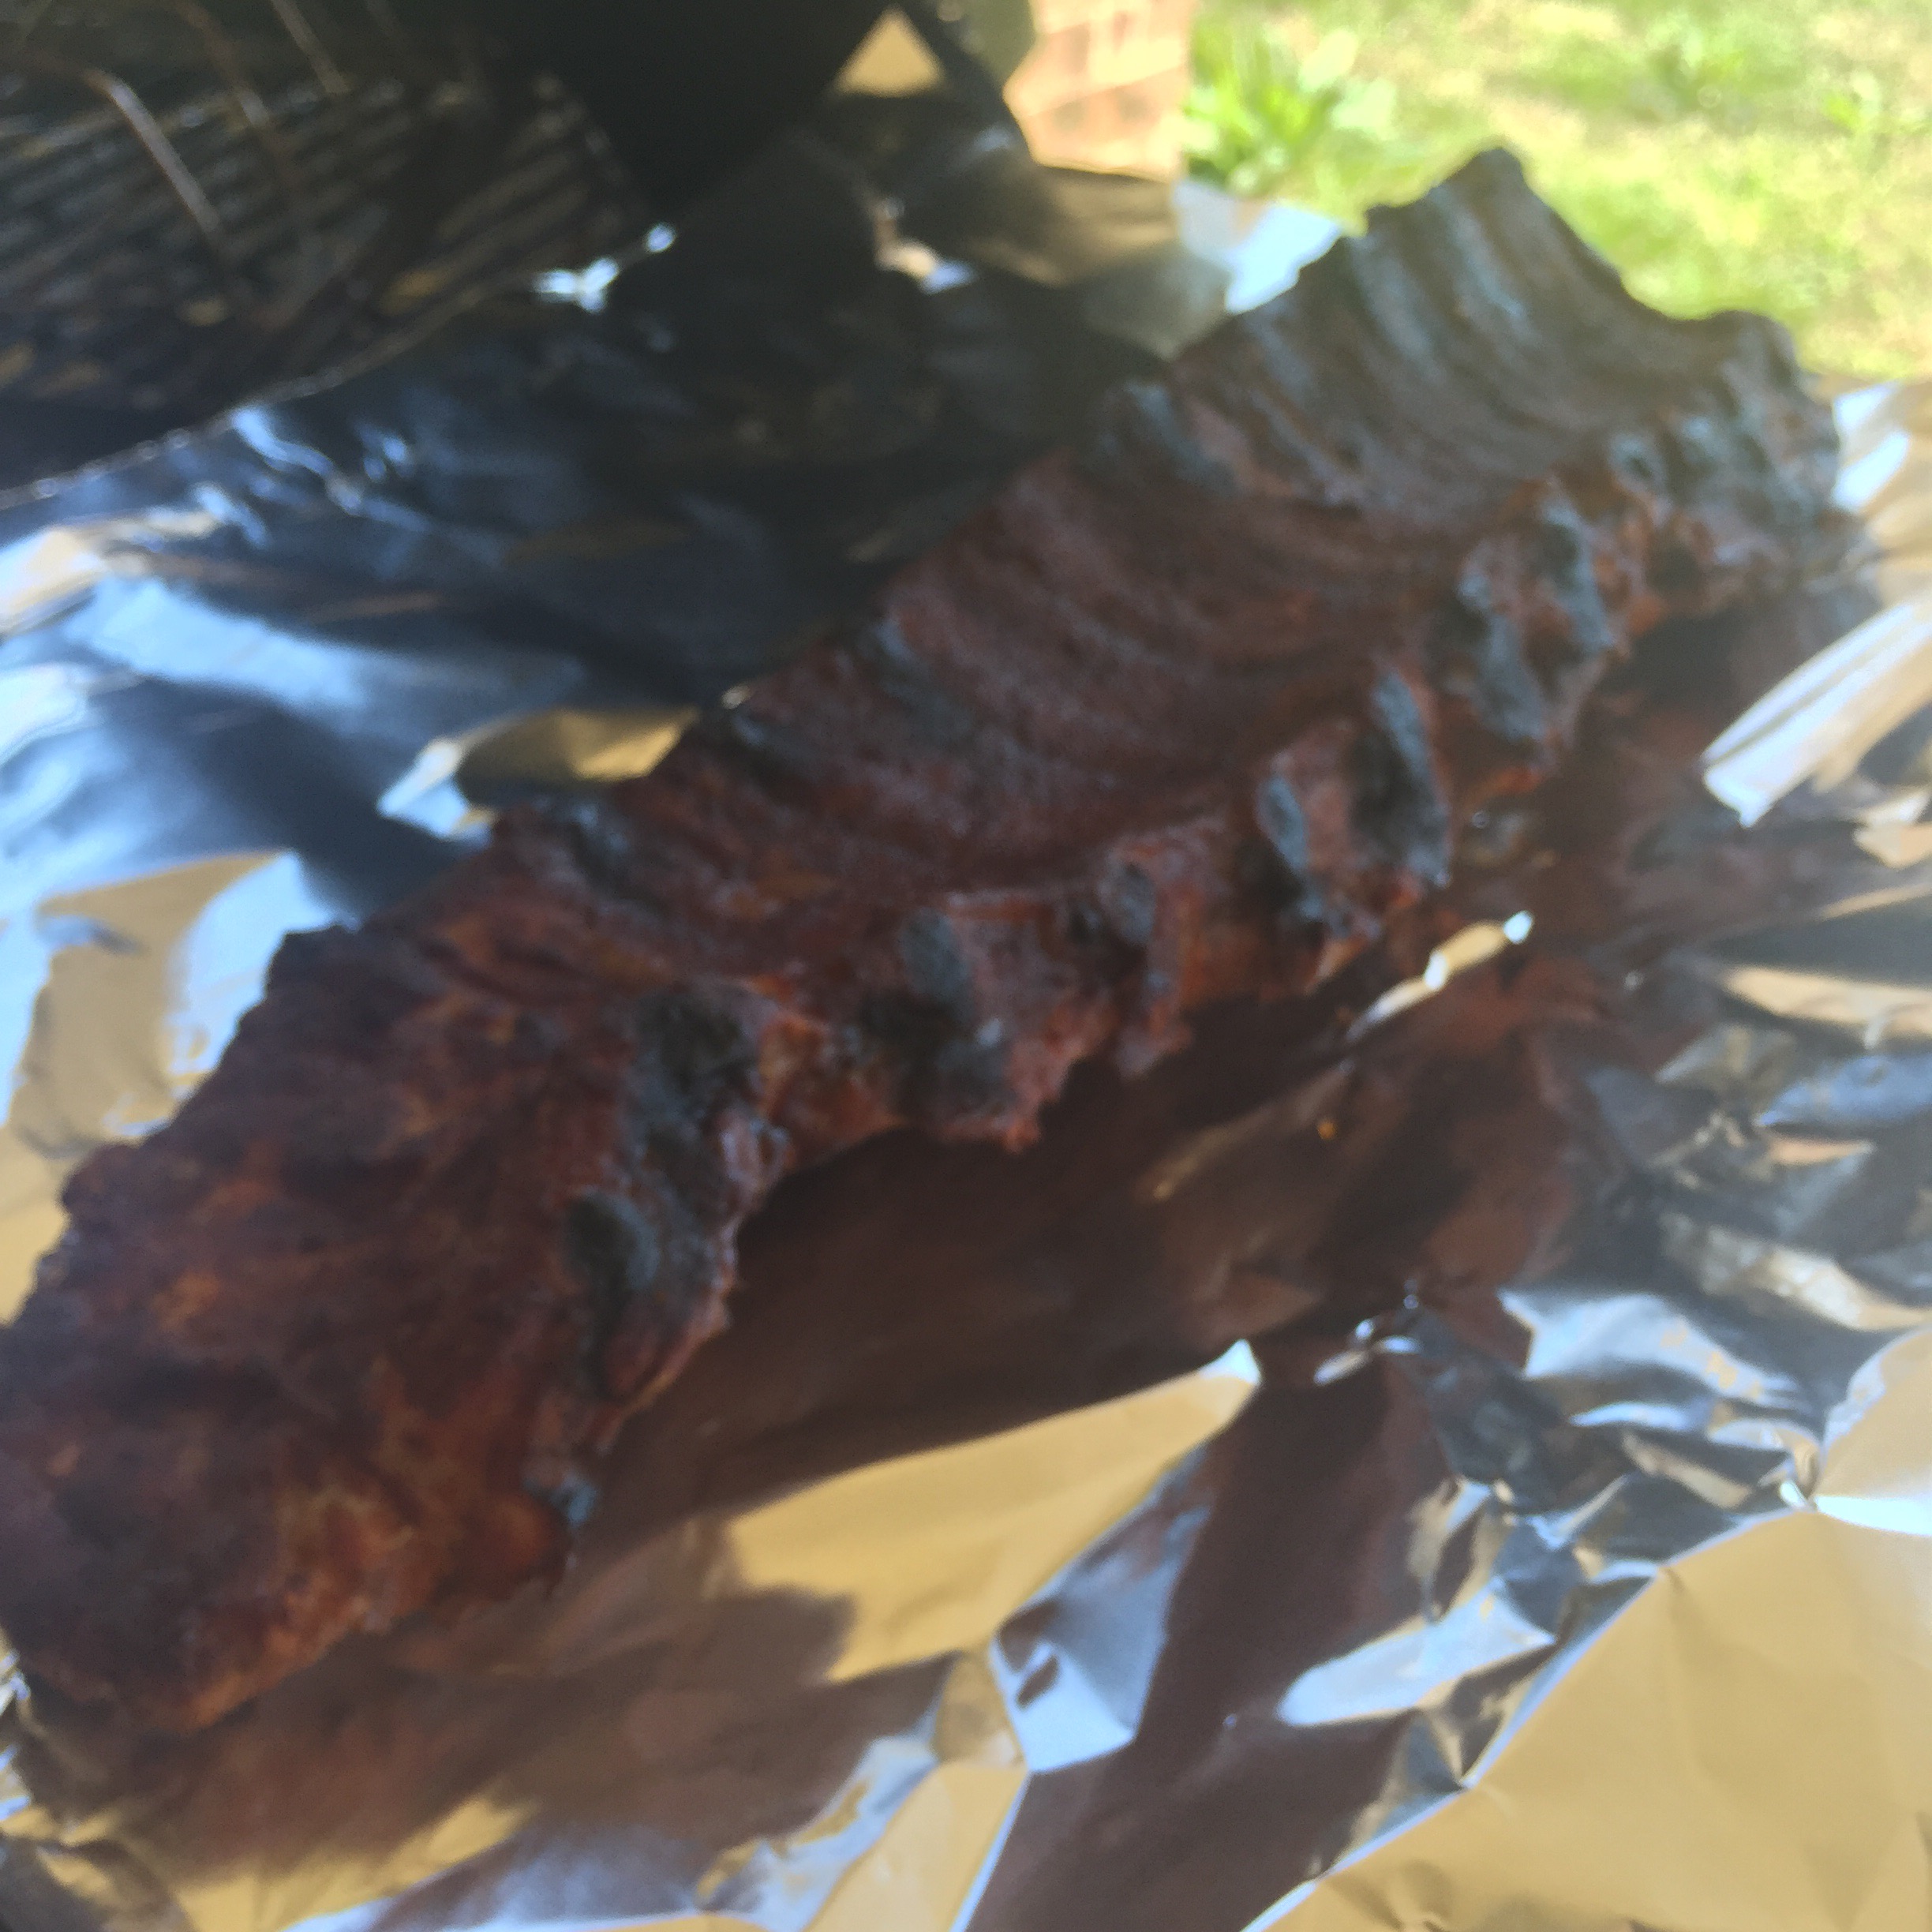
After the second 2 hour round, unwrap these savory xylophones of pork goodness and put them back on the rib rack! See how the meat is pulling away from the bone? That is the proof that your ribs a transforming from chewy to tender. Another way to prove this would be to take one or more of the ribs off the end and eat it in the corner so nobody sees you! Trust me… It’s worth it! It’s also perfectly fine to do because the meat is already cooked to a super safe temperature. We are putting them back on for another hour just to reform that beautiful bark and eek out that last bit of chewiness left in there.

After the last hour is done… Refoil and let ’em rest! 30 minutes is longer than they need, but you can keep these things hot for several hours in a small cooler lined with towels if needed, depending on when you want to serve your masterpiece.
The Results:

Take a look! These ribs should have a sweet smoke ring, a crispy bark and flavor to blow your tastebuds away! I will admit that my ribs were a bit dryer than previous batches I’ve smoked, but the flavor and tenderness was fantastic. I’m fairly certain it was because I forgot to add liquid (usually a Red’s Apple Ale or two) to the drip pan. My willing taste participants scoffed when I mentioned they were on the dry side. Everyone thought they were great and disagreed with my conclusion. Maybe it’s the perfectionist in me, or maybe I’m just more critical of my own cooking. Either way, I won’t exclude the “beer” again… It’s not worth it to me.
Quick Summary:
Prep Time: 20 mins Cook Time: 5 hours Difficulty: Easy
Instructions:
- If you choose to soak your wood, do so the night before. Fruit trees go well with pork.
- Unpack the ribs and remove the membrane.
- Add the rub of your choice. Cover liberally, but don’t be ridiculous! Slather with mustard first, if you like.
- Optional: Pack ’em up and store in the fridge overnight.
- Scatter your wood chunks throughout the charcoal.
- Stabilize your Big Green Egg (or other cooking apparatus) to 225 degrees.
- Place the ribs on your rib rack and set them on the grill.
- Cook for 2 hours.
- Wrap each rack up in aluminum foil and cook for another 2 hours.
- Unwrap them, put them back on the rib rack and cook for 1 hour.
- Pull them off and admire your work. Foil them back up to rest for 30 mins (or longer if you need)
- Cut them up and serve! Remember to be a humble chef when people begin to compliment you abilities. Enjoy!
I hope you find this tried and true method useful. Share your success stories with us in the comments!

OMG!! Those lood great! Can I stop by? Or do you ship?
LikeLiked by 1 person
Thank you for the compliment! We are just a fun information site for BBQ knowledge for now! I hope in the future I can answer differently! Until then, tell your friends to check out the site!
LikeLiked by 1 person
Man, those look good!
LikeLike
OK, Dev – is your super-duper concoction for dry rub a secret? Post if you care to share! 🙂 Those ribs look beyond good enough to EAT!
LikeLiked by 1 person
Thanks for the compliment! Still perfecting the rub… so no sharing quite yet! 🙂 I did just use the new version on a pork butt last night, so I’ll post something on that soon!
LikeLike